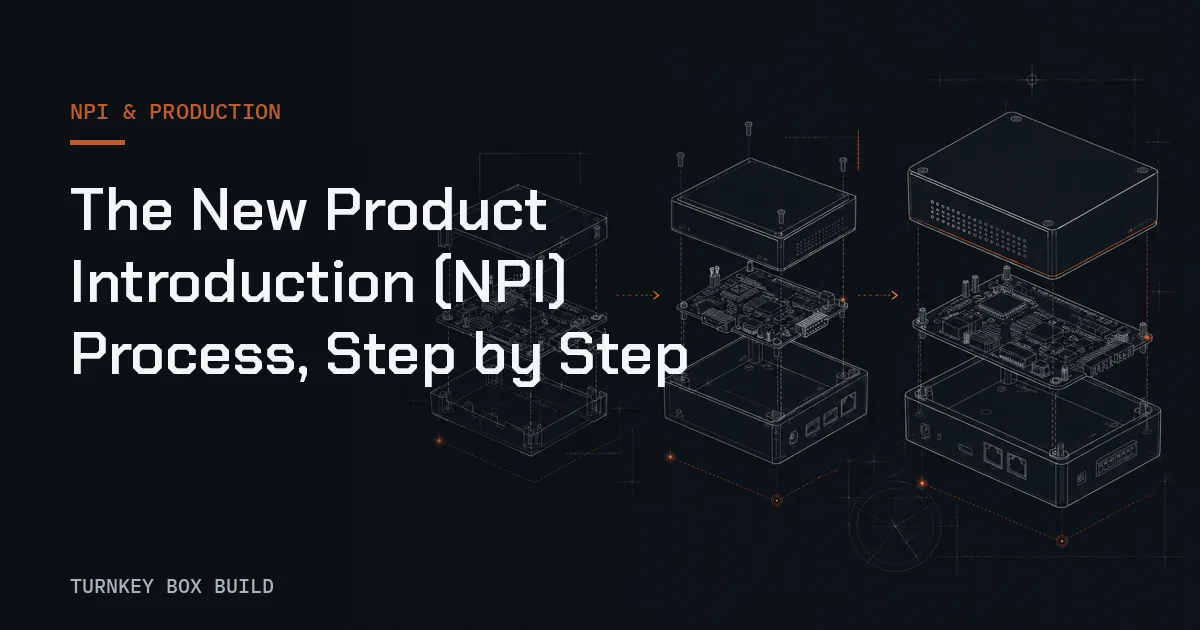
The New Product Introduction process for Box Build moves a product through a series of evidence-based decisions: define the scope, establish the product baseline, review manufacturability, plan materials, develop the route, prepare verification, run a pilot, close issues, and authorize production. Each step should have an owner, entry condition, output, and release decision.
The steps below form a framework rather than a fixed calendar. Product risk, maturity, configuration count, supplied materials, test development, and unresolved design work determine how much iteration each stage needs.
Step 1: Define the delivered Box Build
Describe the exact incoming and outgoing states. List what the partner receives, what it sources or coordinates, which operations it performs, which evidence it retains, and what condition defines an accepted deliverable. Include accessories, firmware, labels, and packaging when they belong to the finished state.
Create a responsibility matrix for design authority, material approval, tooling, test development, nonconformance, changes, and production release. Use what Box Build assembly includes to frame the integration boundary and prevent hidden scope from emerging after kickoff.
Step 2: Establish the product baseline
Collect the structured bill of materials, assembly model, drawings, schematics, cable and connection data, approved sources, firmware identifiers, configuration matrix, test requirements, label artwork, and packaging definition. Record the revision and release status of each item.
Name the governing source when documents conflict. Preliminary information may support planned learning, but it should never look like a production release. Assign every missing or unresolved input to an owner and expected decision point.
Step 3: Run the cross-functional design review
Review the product as a connected system. Check mechanical access, fastener sequence, connector mating, cable routing, strain relief, grounding, thermal interfaces, closure, service access, label placement, test access, and pack-out protection.
The DFM framework for Box Build assembly turns these observations into controlled decisions. Log each issue with the affected requirement, proposed action, owner, document impact, and evidence required for closure. Separate design changes from process clarifications.
Step 4: Build the material readiness plan
Map every bill-of-material line to its approved source, sourcing owner, required incoming state, substitution authority, and configuration use. Define how customer-supplied material will be counted, identified, inspected, stored, and handled if it arrives damaged, short, or at the wrong revision.
Do not use an unapproved substitute to preserve an internal target. If availability creates a constraint, make the decision visible to engineering and procurement. The plan should also identify material that can block a learning objective even when the rest of the kit is available.
Step 5: Develop the manufacturing route
Convert design outputs into an ordered route that protects the product and exposes defects before later work hides them. Define incoming control, kitting, subassembly preparation, mechanical integration, electrical connection, configuration, verification, closure, labeling, and packaging as applicable.
| Route question | Required decision |
|---|---|
| What must be verified before installation? | Incoming acceptance state |
| Which operations depend on sequence? | Controlled work order |
| What needs a fixture or approved tool? | Tooling responsibility and revision |
| Which features become hidden? | In-process inspection point |
| How are variants separated? | Configuration and kit controls |
| Where do failed units go? | Containment and disposition route |
The electromechanical assembly capability provides context for the physical operations, but the product documents must define the actual requirements.
Step 6: Release instructions, tooling, and training
Write station instructions that show part identity, orientation, sequence, tool method, product protection, inspection points, and escalation rules. Controlled visuals can clarify the action, but references must remain tied to released engineering data.
Identify fixtures, gauges, adapters, software, and handling aids. Define their owner, revision, approval, verification, maintenance, and storage. Train participants on the released route and record authorization where the project requires it. Training on an obsolete draft cannot support production readiness.
Step 7: Prepare configuration and functional testing
Define the unit under test, hardware revision, firmware, options, fixture, test software, connection method, sequence, expected responses, limits, retained data, safe-stop conditions, and failure route. Separate product validation from routine manufacturing acceptance.
The functional test plan for Box Build explains how to build a coverage matrix and preserve original results. If the test method or fixture still needs development, treat that work as an NPI deliverable with its own approval rather than hiding it inside production execution.
Step 8: Set pilot objectives and entry criteria
Write the questions the pilot must answer. These might concern assembly access, route sequence, fixture fit, instruction clarity, configuration control, test behavior, traceability retrieval, failure handling, or packaging. Choose the build scope according to those questions and product risk.
Before starting, confirm the applicable data set, material status, available tools, approved temporary controls, trained participants, data-capture method, and decision-makers. If an input is missing, decide whether the pilot can still create valid evidence and document the limitation.
Step 9: Execute the pilot and capture evidence
Run the units through the proposed route without relying on undocumented expert memory. Capture the affected unit, operation, document revision, observed issue, immediate containment, and proposed correction while the context is available.
Preserve original test failures, rework, and deviations. A final pass does not erase the path used to reach it. The Box Build traceability and serialization guide shows how unit identity can connect these events for later review.
Step 10: Close issues and verify corrections
Classify every issue as product design, material, process, tooling, instruction, test, configuration, or quality control. Assign the correct authority, update the governing documents, and verify the correction in the operation where the problem appeared.
A changed document is necessary but may not be sufficient. Confirm that the revised design, sequence, fixture, script, or instruction works in practice. Record effective revisions and identify material or units affected by the change.
Step 11: Authorize the intended production state
Hold a release review covering product data, materials, route, tooling, instructions, training, configuration, verification, traceability, packaging, and exception handling. Every remaining item needs either closure or an approved owner and disposition. Certified manufacturing systems can support this control, while the evidence remains product-specific.
For more detail on the full handoff, read what NPI means in manufacturing and the existing Box Build NPI process guide. Review the NPI and pilot-build capability and organize inputs with the RFQ checklist. When the release baseline is ready, request a quote and ask for an NPI scope review before committing material or production authorization.
Use the stage gates to decide what may advance, then map approved operations onto the end-to-end Box Build process and define the corresponding inspection, change, and record controls in the quality and traceability framework. The checklist is a decision aid; the released project documents remain the governing source.