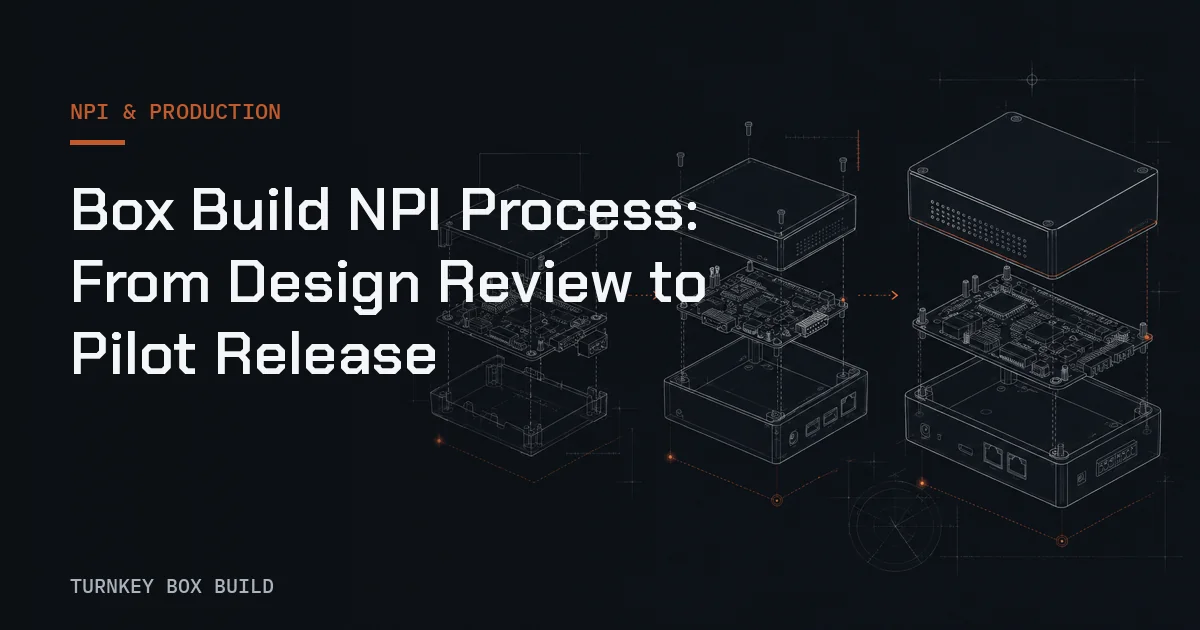
A Box Build NPI process converts a released product concept into a controlled manufacturing route and proves that the route can deliver the defined acceptance state. It is not merely the first time technicians assemble the unit. NPI aligns product data, materials, tooling, instructions, tests, records, packaging, and decision ownership before repeat production is authorized.
The process should expose uncertainty early and preserve what the team learns. A successful pilot is useful only when its corrections flow back into controlled documentation.
Establish scope and ownership
Begin by defining the Box Build input state, output state, and responsibility matrix. List customer-supplied and partner-coordinated materials, design authority, approved-source control, tooling ownership, test development, record retention, packaging, logistics, and nonconformance approval.
Use what turnkey means in Box Build assembly if the partner will coordinate sourcing and delivery. Turnkey should clarify accountability, not hide OEM decisions. Name the owners who can answer technical and commercial questions during NPI.
Run a cross-functional design review
Review mechanical, electrical, thermal, configuration, test, service, labeling, and packaging interfaces together. Check model and drawing revisions, datums, connector access, fastener sequence, cable routing, grounding contacts, thermal-interface placement, finish protection, human access, and safe test connection.
The output should be an open-item register, not informal meeting notes. Each item needs an owner, required decision, affected document, and closure evidence. The electromechanical assembly capability provides a useful interface checklist for this review.
Audit the product release package
Confirm that the bill of materials, models, drawings, schematics, connection data, assembly requirements, firmware, test specification, labels, serial rules, and packaging documents form one coherent release baseline. Identify which source governs when formats disagree.
Preliminary inputs can be used when the pilot’s learning objective requires them, but they must be visibly controlled. The team should not confuse “available for review” with “released for repeat production.” Follow how to prepare a complete Box Build RFQ package to organize the starting data.
Build the material and sourcing plan
Map every material line to its approved source, sourcing owner, incoming acceptance, lifecycle concern, substitution authority, and configuration use. Review availability without making unsupported schedule promises. Identify items that can block learning because they arrive late or in an unapproved state.
Customer-supplied material needs rules for count, condition, revision, discrepancy, replacement, and excess disposition. Partner-coordinated material needs change approval and visibility. The pilot should not proceed with a silent substitute simply to preserve a date.
Design the manufacturing route
Convert the product definition into a sequence of controlled operations and inspection points. The route should protect sensitive inputs, preserve cosmetic surfaces, manage configurations, prevent missed connections, and place verification before later work hides the feature.
| Route stage | Readiness question | Expected output |
|---|---|---|
| Incoming control | Are identity and acceptance rules clear? | Released material state |
| Kitting | Can variants be separated correctly? | Controlled kit |
| Mechanical integration | Are sequence and datums defined? | Secure, aligned assembly |
| Electrical integration | Are routing and connection checks defined? | Verified interconnection |
| Configuration | Is the approved product state selectable? | Correct firmware and options |
| Functional test | Are coverage and limits approved? | Recorded acceptance decision |
| Pack-out | Are identity and accessories verified? | Defined delivery state |
The route should show where a defect is cheapest and clearest to detect, without claiming a universal inspection pattern.
Prepare work instructions and tooling
Work instructions translate engineering intent into station actions. Use controlled visuals, orientation cues, part references, sequence, tool method, inspection points, and escalation rules. Avoid copying drawing notes without explaining the assembly action they govern.
Identify fixtures, gauges, adapters, software, torque tools, lifting aids, and protective handling needed for the project. Define ownership, revision, approval, maintenance, and storage. Specialized resources can be coordinated through qualified external support when the route and evidence remain controlled.
Release the functional test plan
Define the unit under test, applicable configuration, procedure, fixtures, interfaces, stimuli, expected responses, limits, data fields, safety precautions, and failure path. Separate test execution from development if the method is not yet approved.
The functional test plan guide explains how to connect product requirements to manufacturing acceptance. A pilot should exercise normal operation and the controlled handling of expected failures where safe and appropriate. It should not treat repeated testing until pass as a disposition method.
Set pilot objectives and readiness gates
A pilot needs explicit learning goals. Examples include confirming assembly sequence, access, fixture fit, instruction clarity, configuration selection, test flow, traceability, packaging, and issue escalation. Quantities should be selected through project review according to risk, design maturity, material state, and the questions the pilot must answer.
Hold a readiness review before starting. Confirm released inputs, trained participants, available material, approved temporary controls, safe work conditions, data capture, and decision-makers. If a critical input is missing, decide openly whether the build can still produce valid learning.
Control the pilot build
Capture observations at the station while context is fresh. Record the affected unit, operation, document revision, issue, immediate containment, and proposed corrective action. Distinguish a product design issue from a process, material, documentation, tooling, or test issue so ownership remains clear.
Temporary redlines need approval and a planned route into released documents. Keep the original failure and rework history connected to unit identity. The traceability and serialization guide shows how pilot evidence can support later investigations.
Close issues and verify changes
After the build, review every open item and decide whether it blocks release, requires follow-up, or can be accepted with documented rationale. Update drawings, bills of materials, work instructions, test assets, configuration rules, labels, and packaging through the appropriate change process.
Verify corrections in the context where the issue occurred. A document edit alone does not prove that access, sequence, software, fixture, or training now works. Preserve closure evidence and effective revision so later units follow the corrected route.
Authorize production release
Production release should confirm that product data, sourcing, route, tooling, instructions, test, traceability, training, quality controls, packaging, and open-risk ownership are ready for the intended demand pattern. Certified manufacturing systems can support release discipline, but project readiness remains a product-specific decision.
Use the NPI and pilot-build capability and RFQ checklist to structure the handoff. When the package and objectives are defined, request a quote and ask for an NPI scope review before committing material or a pilot date.
If you need the term and purpose before applying it, start with the definition of NPI. If you already understand the concept and need a reusable gate sequence, use the 11-step NPI stage-gate checklist. This guide stays focused on the interfaces that make Box Build NPI distinct: enclosure, PCBA, harness, firmware, test, labeling, and pack-out.